
This post may include affiliate links.
Someone recently asked me a question about how I fold on the go. It's something I've wanted to write about, but actually receiving that question is what finally got me to sit down and type this up.
Waiting around for anything is a waste of time in my opinion, so I always take work with me to keep me busy. Most of the time I just take a project case and some paper with me, but when the folding requires a flat surface, or I'm using any paper larger than 6 inch squares, then a few other things are taken along. These are the things I use when I want to fold on the go...

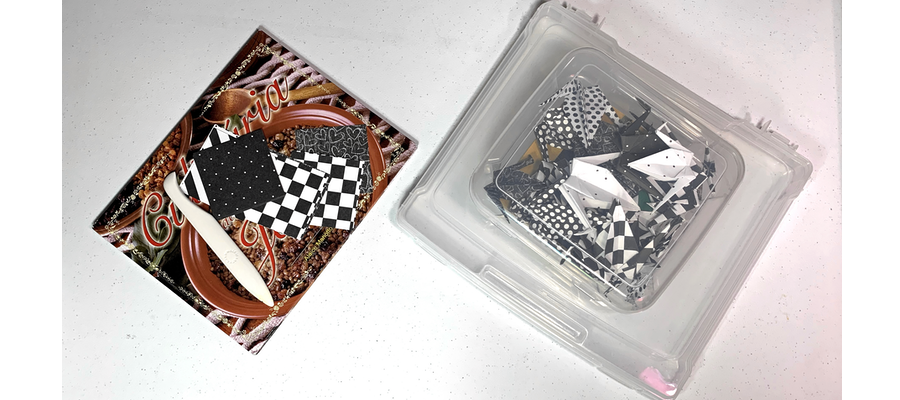
A Project Case:
This is essential when folding origami on the go. You need a place to keep your paper and completed models safe. For folding paper cranes or other small models I tend to carry around a 6x6 inch project case that I got at Michaels, but you can also find it on Amazon.
When I have to fold sheets that are larger than 6 inch squares, then I always take larger project cases. If the sheets are 12 inch squares, or I need a lot of space for the completed models then I use these large project cases by Iris. These large cases are also perfect for storing my 12x12 inch sheets of scrapbooking paper. I have a huge collection of these gorgeous papers as I use them for my paper crane mobiles, and I like that they're clear cases and I can see exactly which papers are in which case.
When I can, I prefer to use a slim project case though, as it takes up less space. I like these for short outings and for when I have very complex models to fold since I don't have to take as much paper with me. I really like these slim project cases.

Hard Folding Surface:
I only need a hard surface when I'm folding complex models or large sheets of paper, but most people do prefer a hard surface to fold on. You need a solid and stiff surface that is thin and lightweight. I use a slim hard cover recipe book that I had at home. It's a little smaller than a standard 8.5x11 inch sheet of paper so it fits in the slim project case as well as the large cases. I like using a book because I can tuck a half folded model just inside the cover and keep it safe until I can get back to it, and sometimes I'll tuck loose paper in the book too so the corners don't get damaged.
Bone Folder:
Oftentimes when I'm working with stiff paper I like to use a bone folder in conjunction with a hard folding surface. A bone folder is a smooth flat tool that is used to crease the paper as you run it over the fold you want to crease. Using one of these helps spare my finger tips/nails from damage and injury when I fold thick or rough paper. I use this Martha Stewart Bone Folder - I mostly use the pointed end, but I like that the opposite end has this funny curve with a sharp point. I've used that end to help open up tiny layers for squash folds.
So when you need to fold on the go, just grab an empty project case, add a hardcover book, a bone folder, and some paper and you're ready to go! I'd love to hear what you take along when you fold on the go - leave a comment below!
For more information about origami papers and folding and cutting tools to use in origami, visit the DIY section of my site!